Remove Debian comepletely from DualBoot
Requirements
Windows 10 PC
I - Delete partition
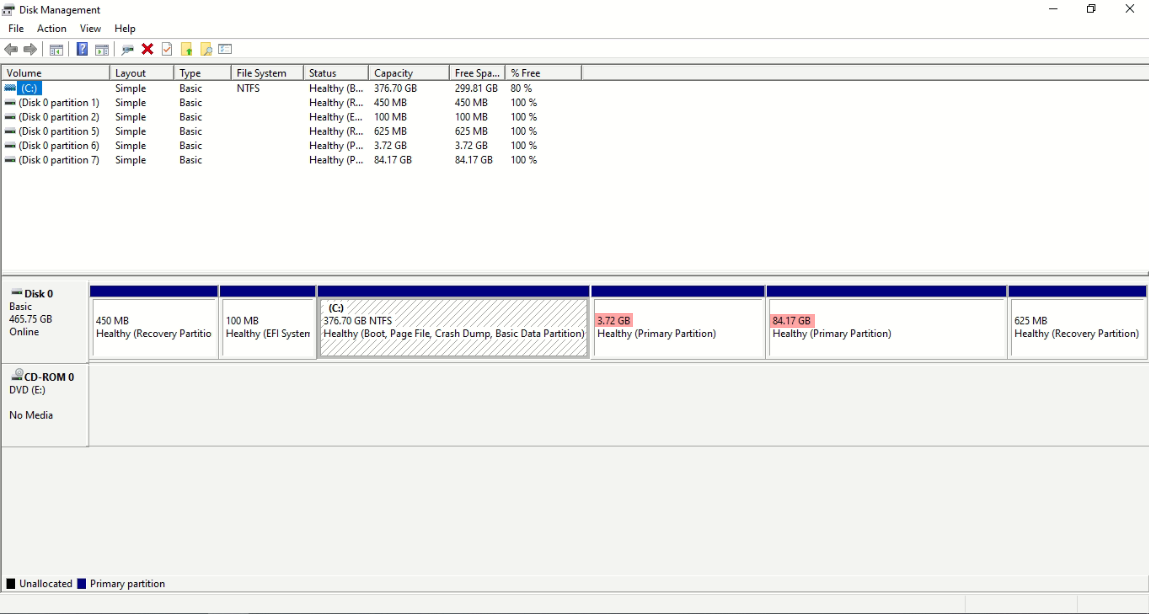
Right click on the start button (bottom left corner) and click on “Disk Management”

ideally there should be 2 linux partition, one swap area and other is main disk partition. These are the two partitions I have
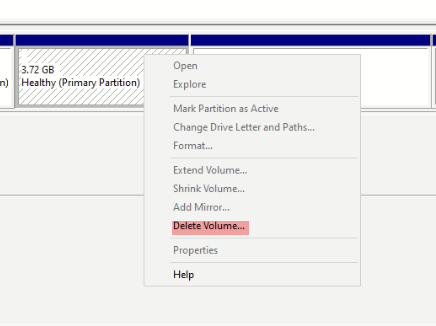
right click on one of them and click on “Delete Volume”
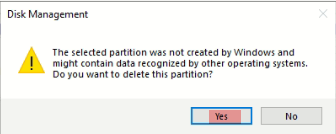
click yes on the pop up
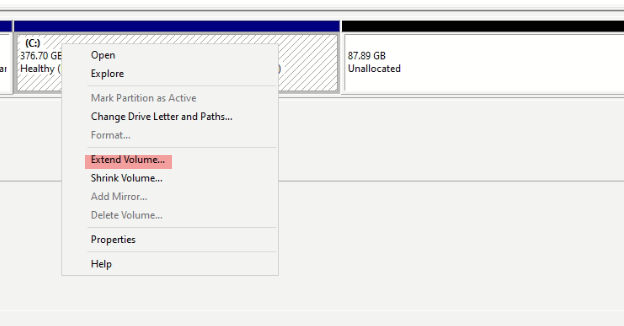
repeat the last two steps for the second partition. Once done right click on your main drive and click “Extend Volume” to add the free space to main partition
Click “Next” on the pop up

Once done, the free space will be added to your main partition like so

II - Delete Grub Bootloader
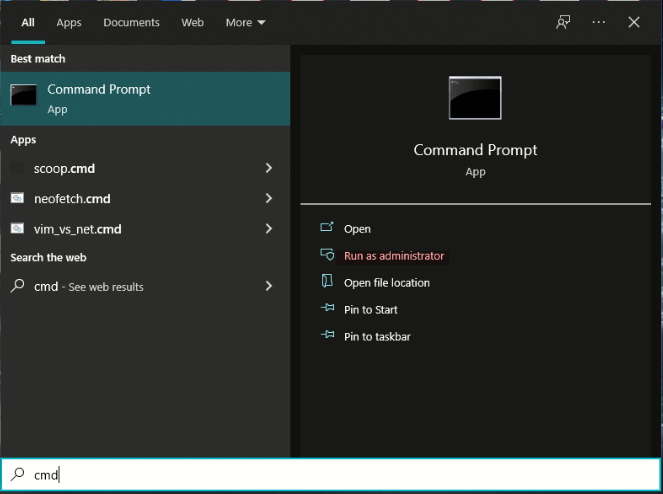
Click on the start button, search for “cmd” and run cmd as admin
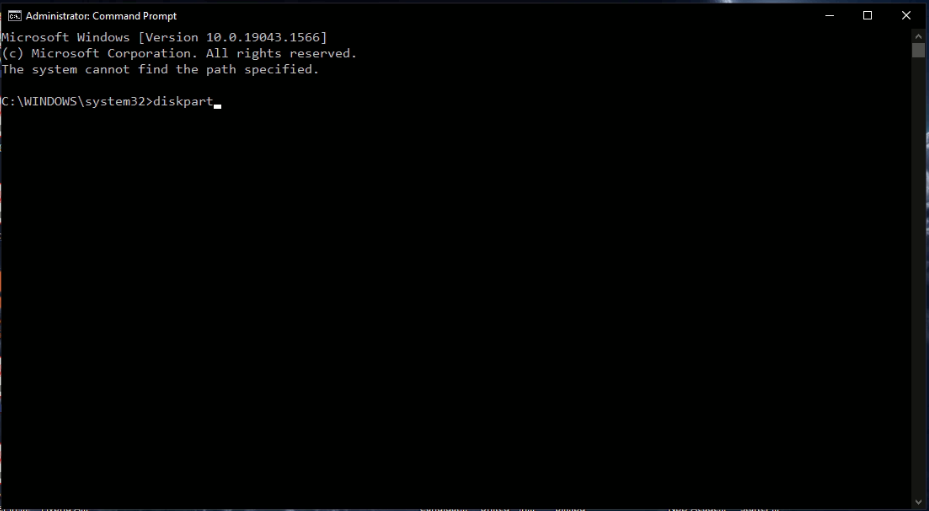
In the command prompt type
diskpart
type
list disk
to list all the disks on your system
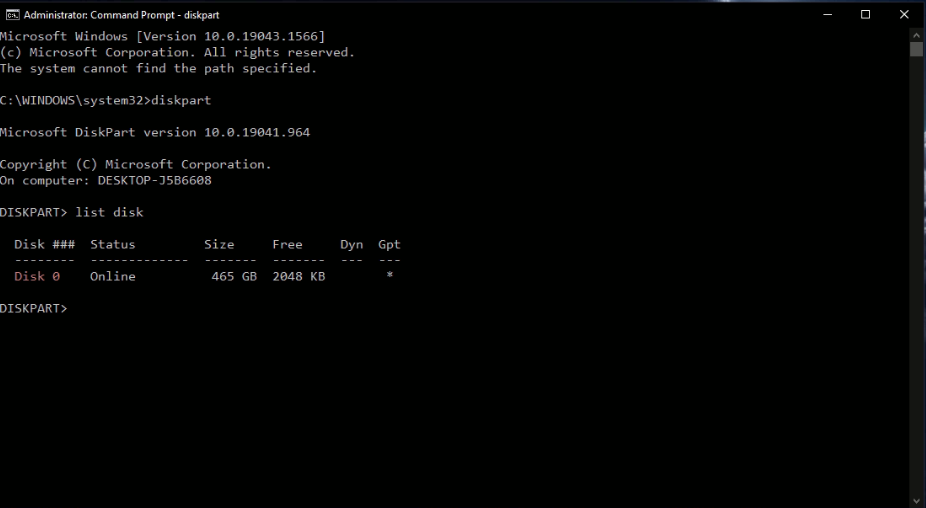
Select the disk where you installed your linux OS, in my case it’s Disk 0 (zero)
select <DISK NUMBER>
Next, list the partitions by typing
list part
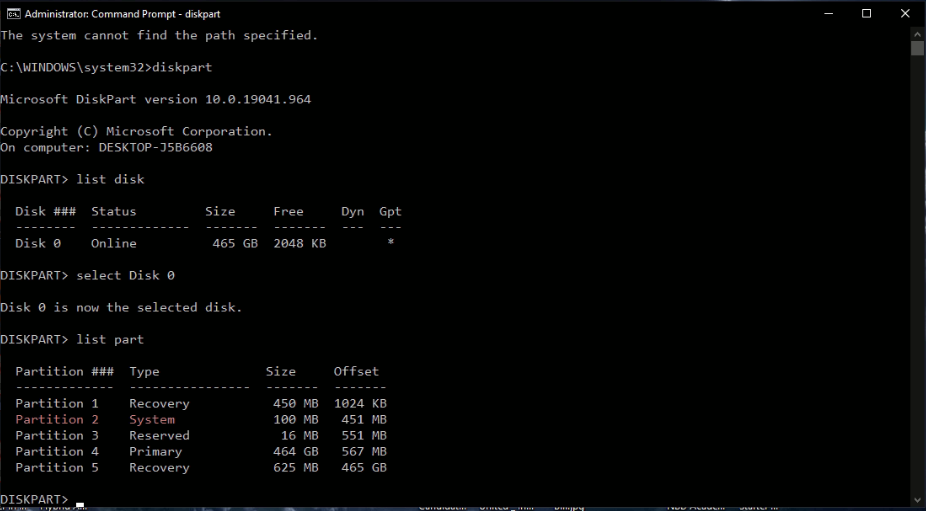
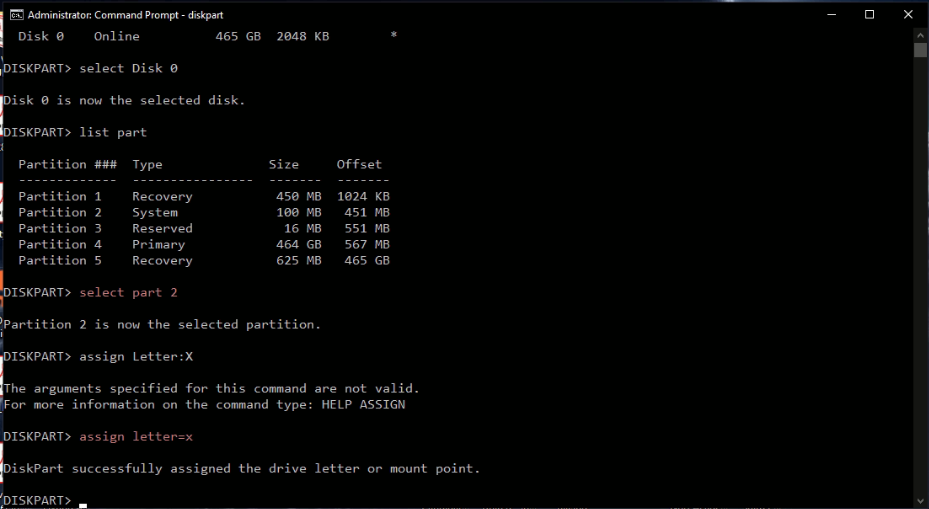
Select the “System” partition by specifying it by partition number, in my case its partition 2
select part <PARTITION NUMBER>
then assign a drive letter to the partition. The drive letter should not be in use already, I will go with letter X
Exit diskpart by typing
exit
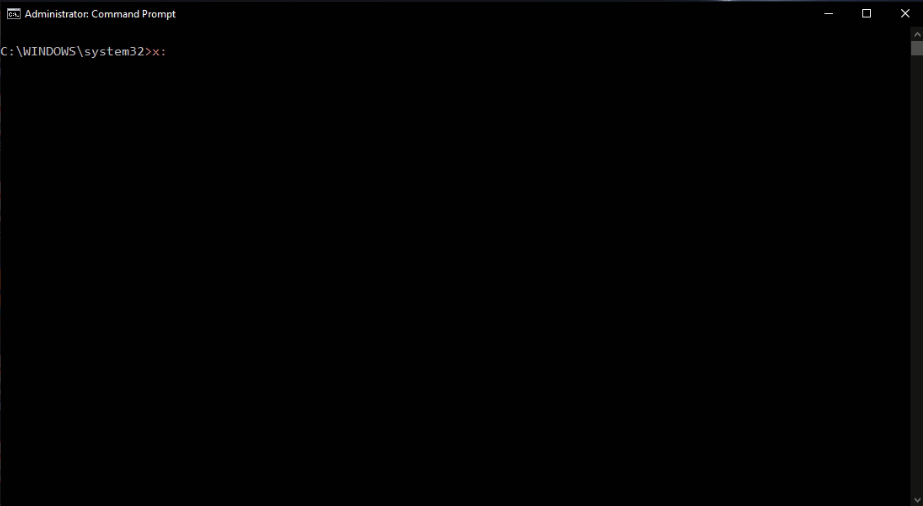
You will be back in command prompt, here type
<YOUR DRIVE LETTER>:
list the folders in the directory by typing
dir
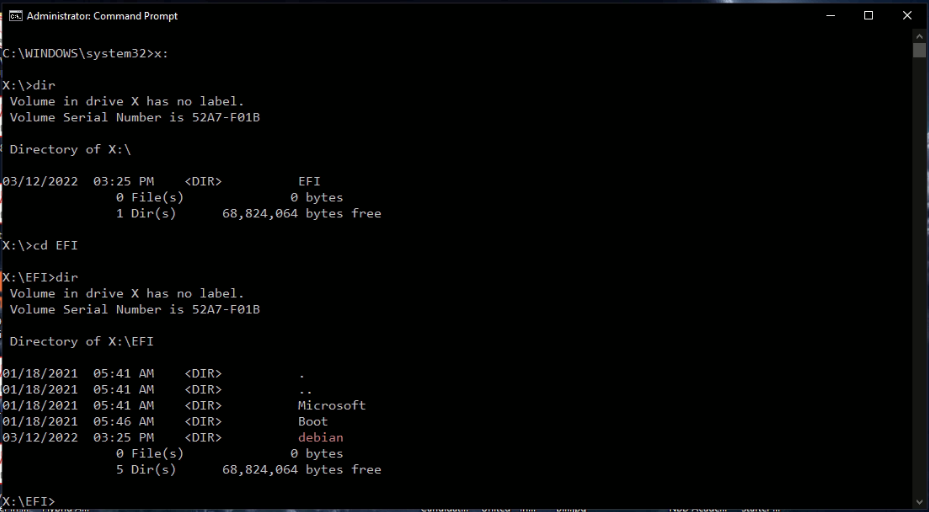
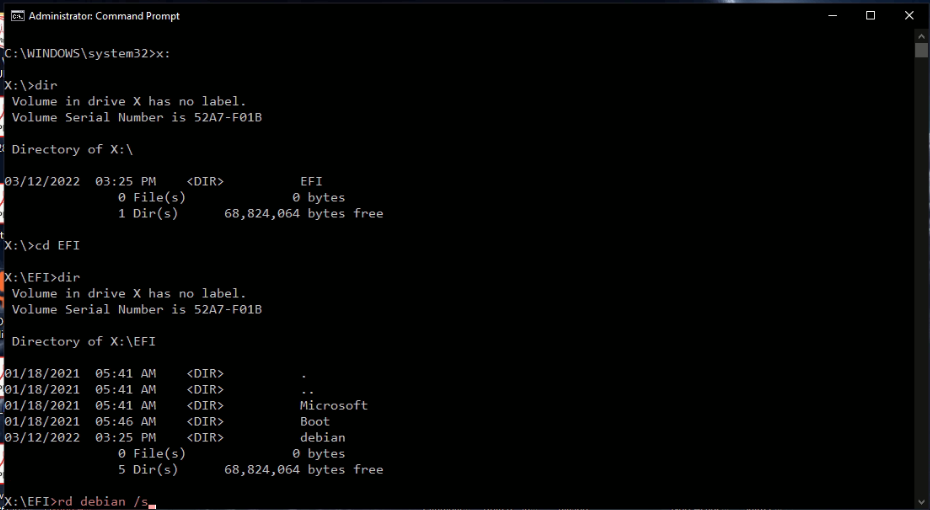
I am removing debian, so I will be typing
rd debian /s
change “debian” with your OS
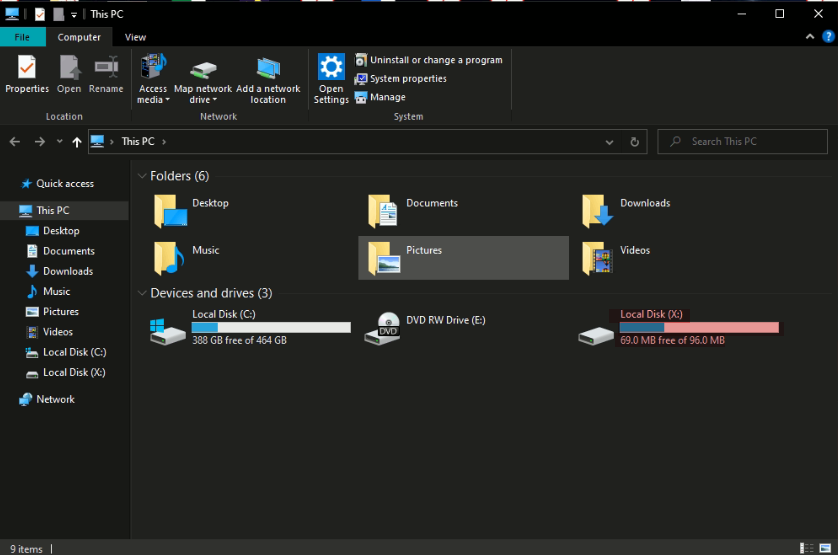
Once done, you will have a new “Local Disk”. It will be removed once you restart your PC.
that’s it ✌🏽