Email Alias With Cloudflare
Brief
You can forward email with pretty much any domain provider but in this case I am using Cloudflare.
By the end of this article, you will be able to send and receive email from a custom email address that uses your domain name.
You will need to enable 2 Step verification on your google account for this to work.
Step 1: Setup Cloudflare
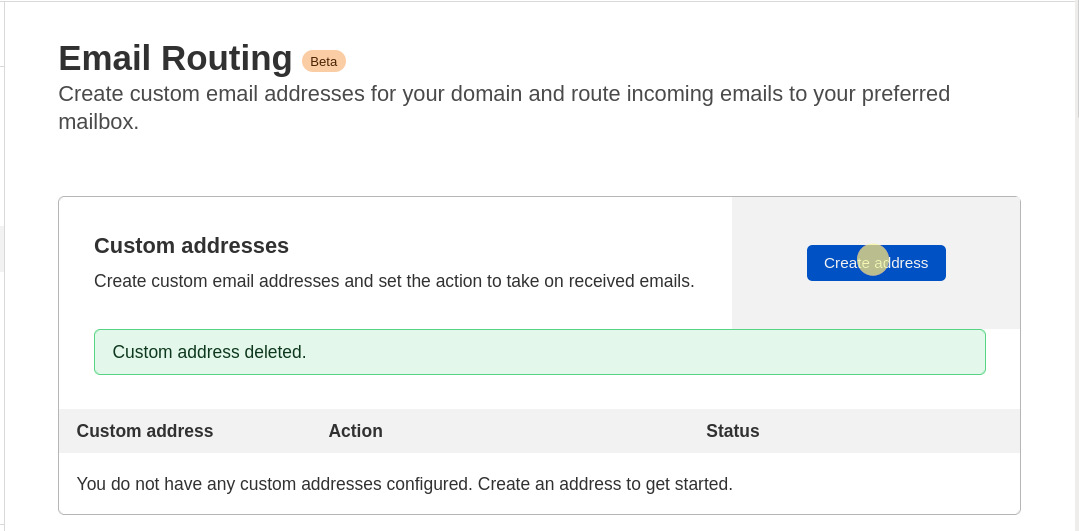
The first step is to setup cloudflare so it can route email. In this case my domain is mansoor.cf and I will be routing test@mansoor.cf.
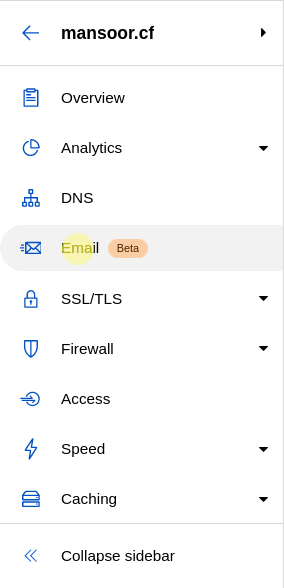
Open your cloudflare dash and go to the “Email” section from the sidebar
click “create address”
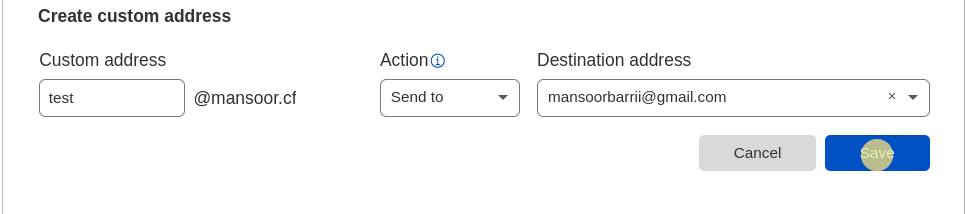
Under Custom address type the mail address you want, in this case I will be using test and click Save
Step 2: Email Client Setup
Gmail
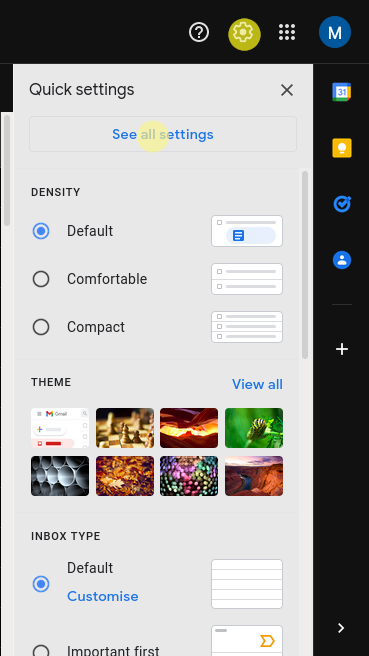
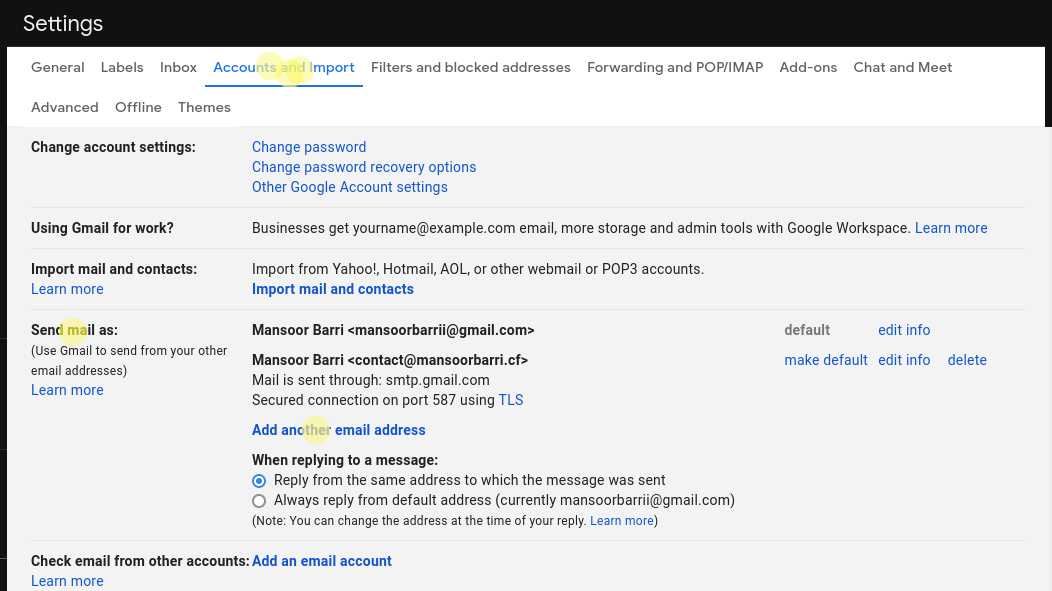
Head over to the setting like so
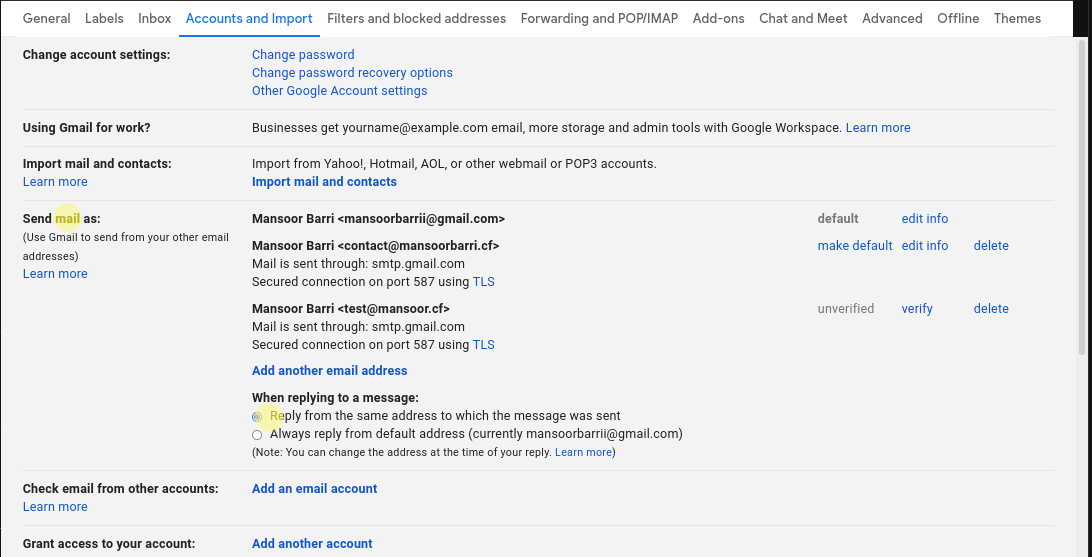
Under “Accounts and Import” go to “Add another email address” in the “Send mail as”
Here enter the custom mail address as Email address
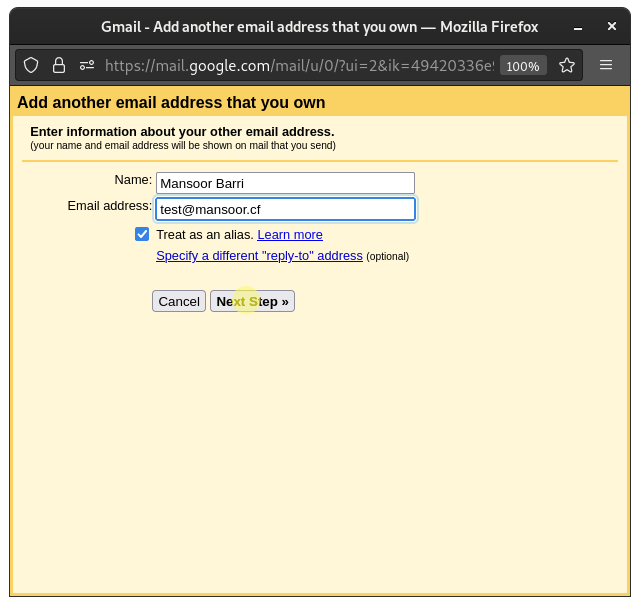
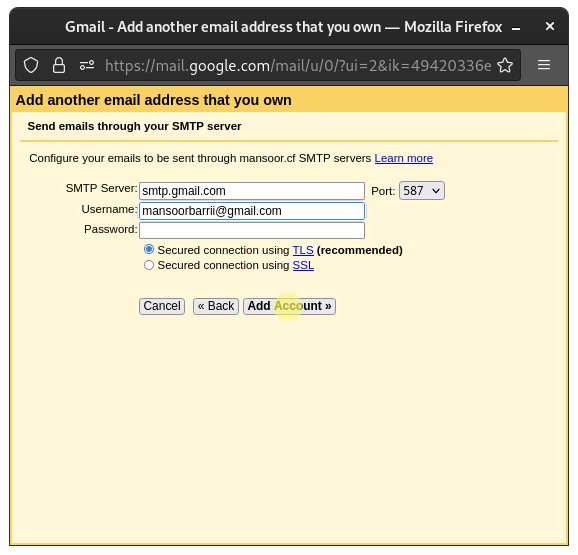
Here enter your details in this order
SMTP Server: smtp.gmail.com
Port: 587
Username: mansoorbarrii@gmail.com
Password: «app password»
Username should be your main gmail. In my case its mansoorbarrii@gmail.com
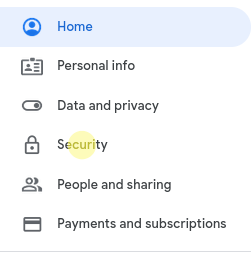
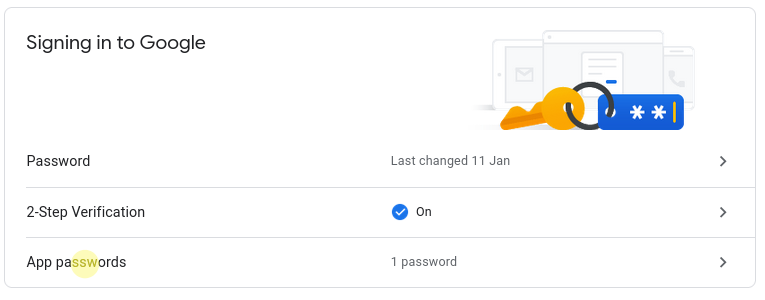
To get your app password go through these steps
- Go to your Google Account Settings. Go to App Passwords under Security.
From the 1st dropdown select “Mail” and “Other” from second
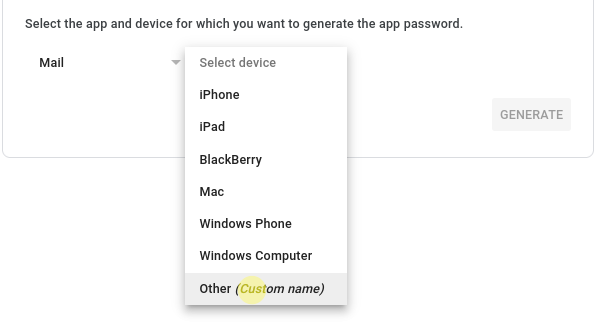
You can type anything in custom name. I am going with test@mansoor.cf
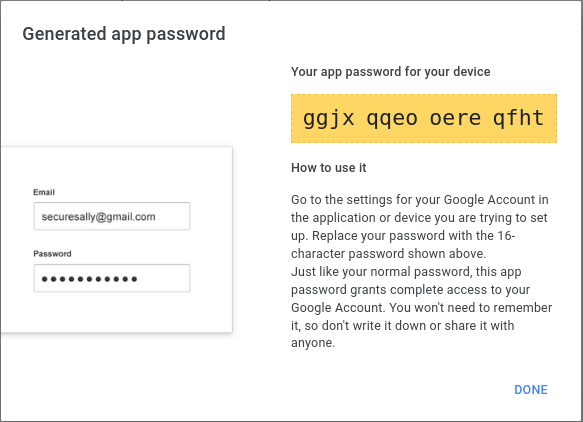
The yellow highlighted characters is your password
You may encounter this error
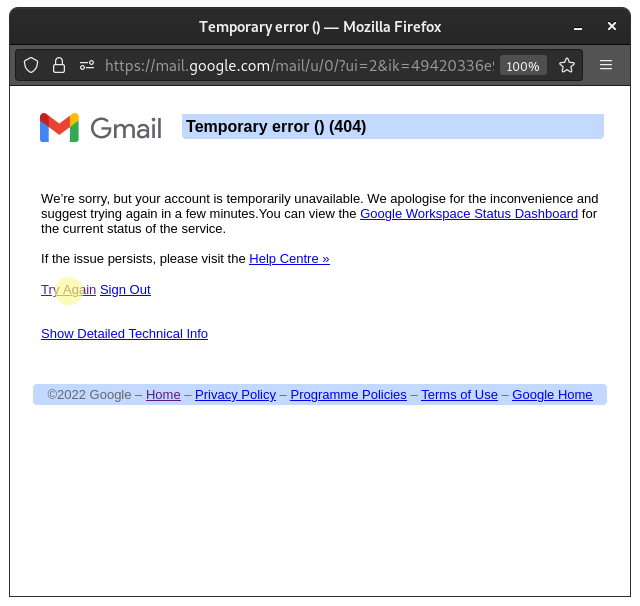
This happens becuase the page timed out. Try again with the same steps and it should work.
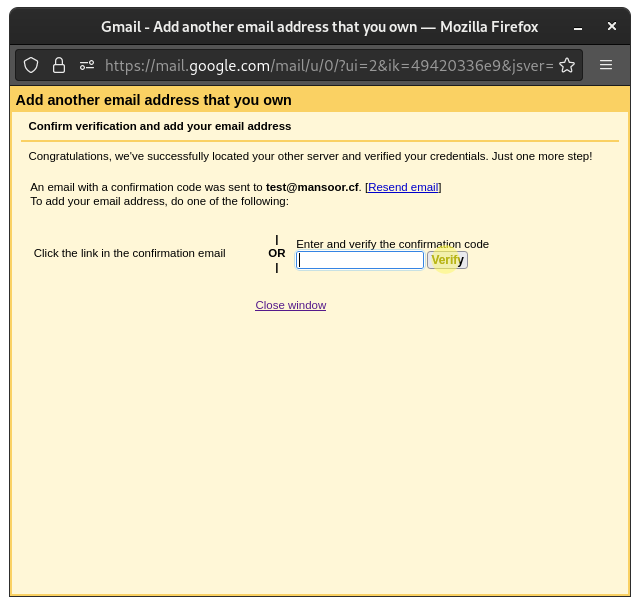
Verify your mail
Enable the Mail alias and you are good to go
Hotmail/Outlook
-
Go to account.live.com/alias
-
Sign in and click on “Add email address”, under “Add an existing email address as a Microsoft account alias” type your email alias which you want. In my case it’s test@mansoor.cf
-
Click on “Add alias”, on the next page click on “Verify and then click on the link from the verification link.
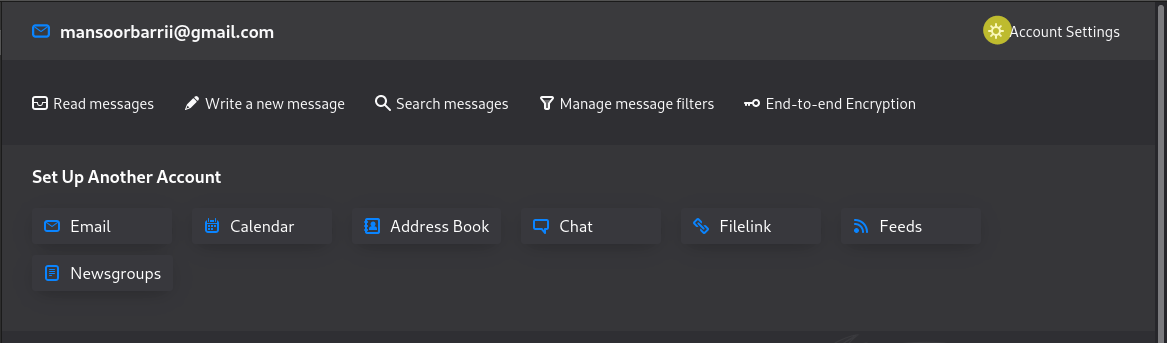
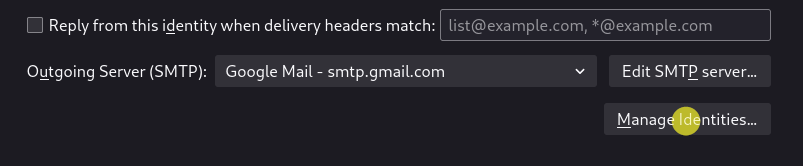
ThunderBird
Go to your account settings from the main page
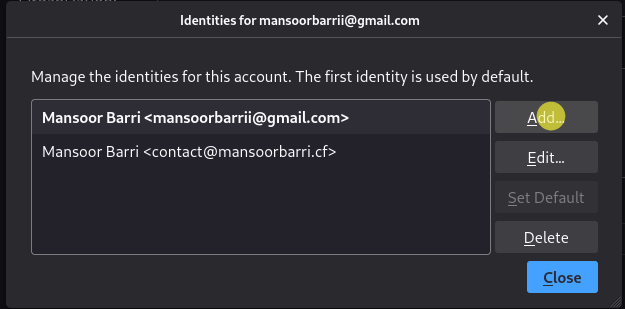
Click “Manage Identities”
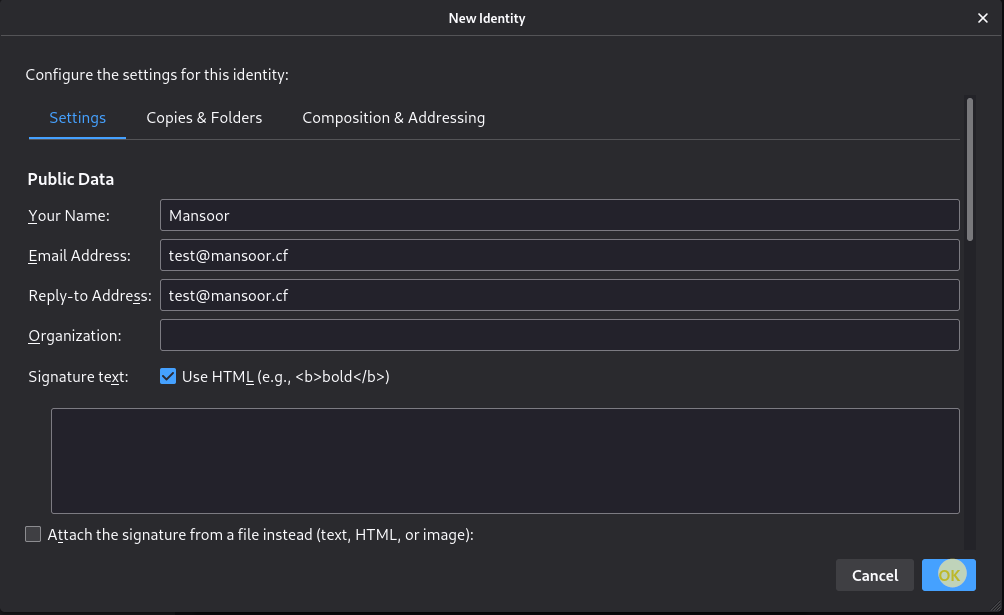
Add
Last but not the least enter your details like so
Update
You might get the following error sometimes:

Here is the guide to fix this: /guides/sender-not-verified/
that’s it ✌🏽